

Laslift How-to
For a successful application, we strongly recommend that you follow the instructions and each step of the video. To help you avoid possible mistakes and ensure your application works smoothly, feel free to check out our FAQ section below. For first-time users, we recommend following the video instructions.
Step 1: Cleanse
Cleanse your eyelids and lashes thoroughly with the fleeky Cleanser or an oil-free makeup remover. Make sure to clean your lids too—any residue can affect adhesion. Lashes must be dry and free of oil.
Step 2: Attach silicone pads
Choose the right silicone pad size. Trim slightly at the sides if needed. Apply the fleeky glue evenly onto the silicone pad, let it dry for 30 seconds, and fix the pad to your eyelid.
Step 3: Fix it! Fix eyelashes
Comb your lashes upward one by one with the little comb and press them gently. Use the Y-tool to brush your lashes upward and fix them individually—neatly separated, with no crisscrossing.
Step 4: Power To The Lashes! With Step 1 Lashlift Lotion
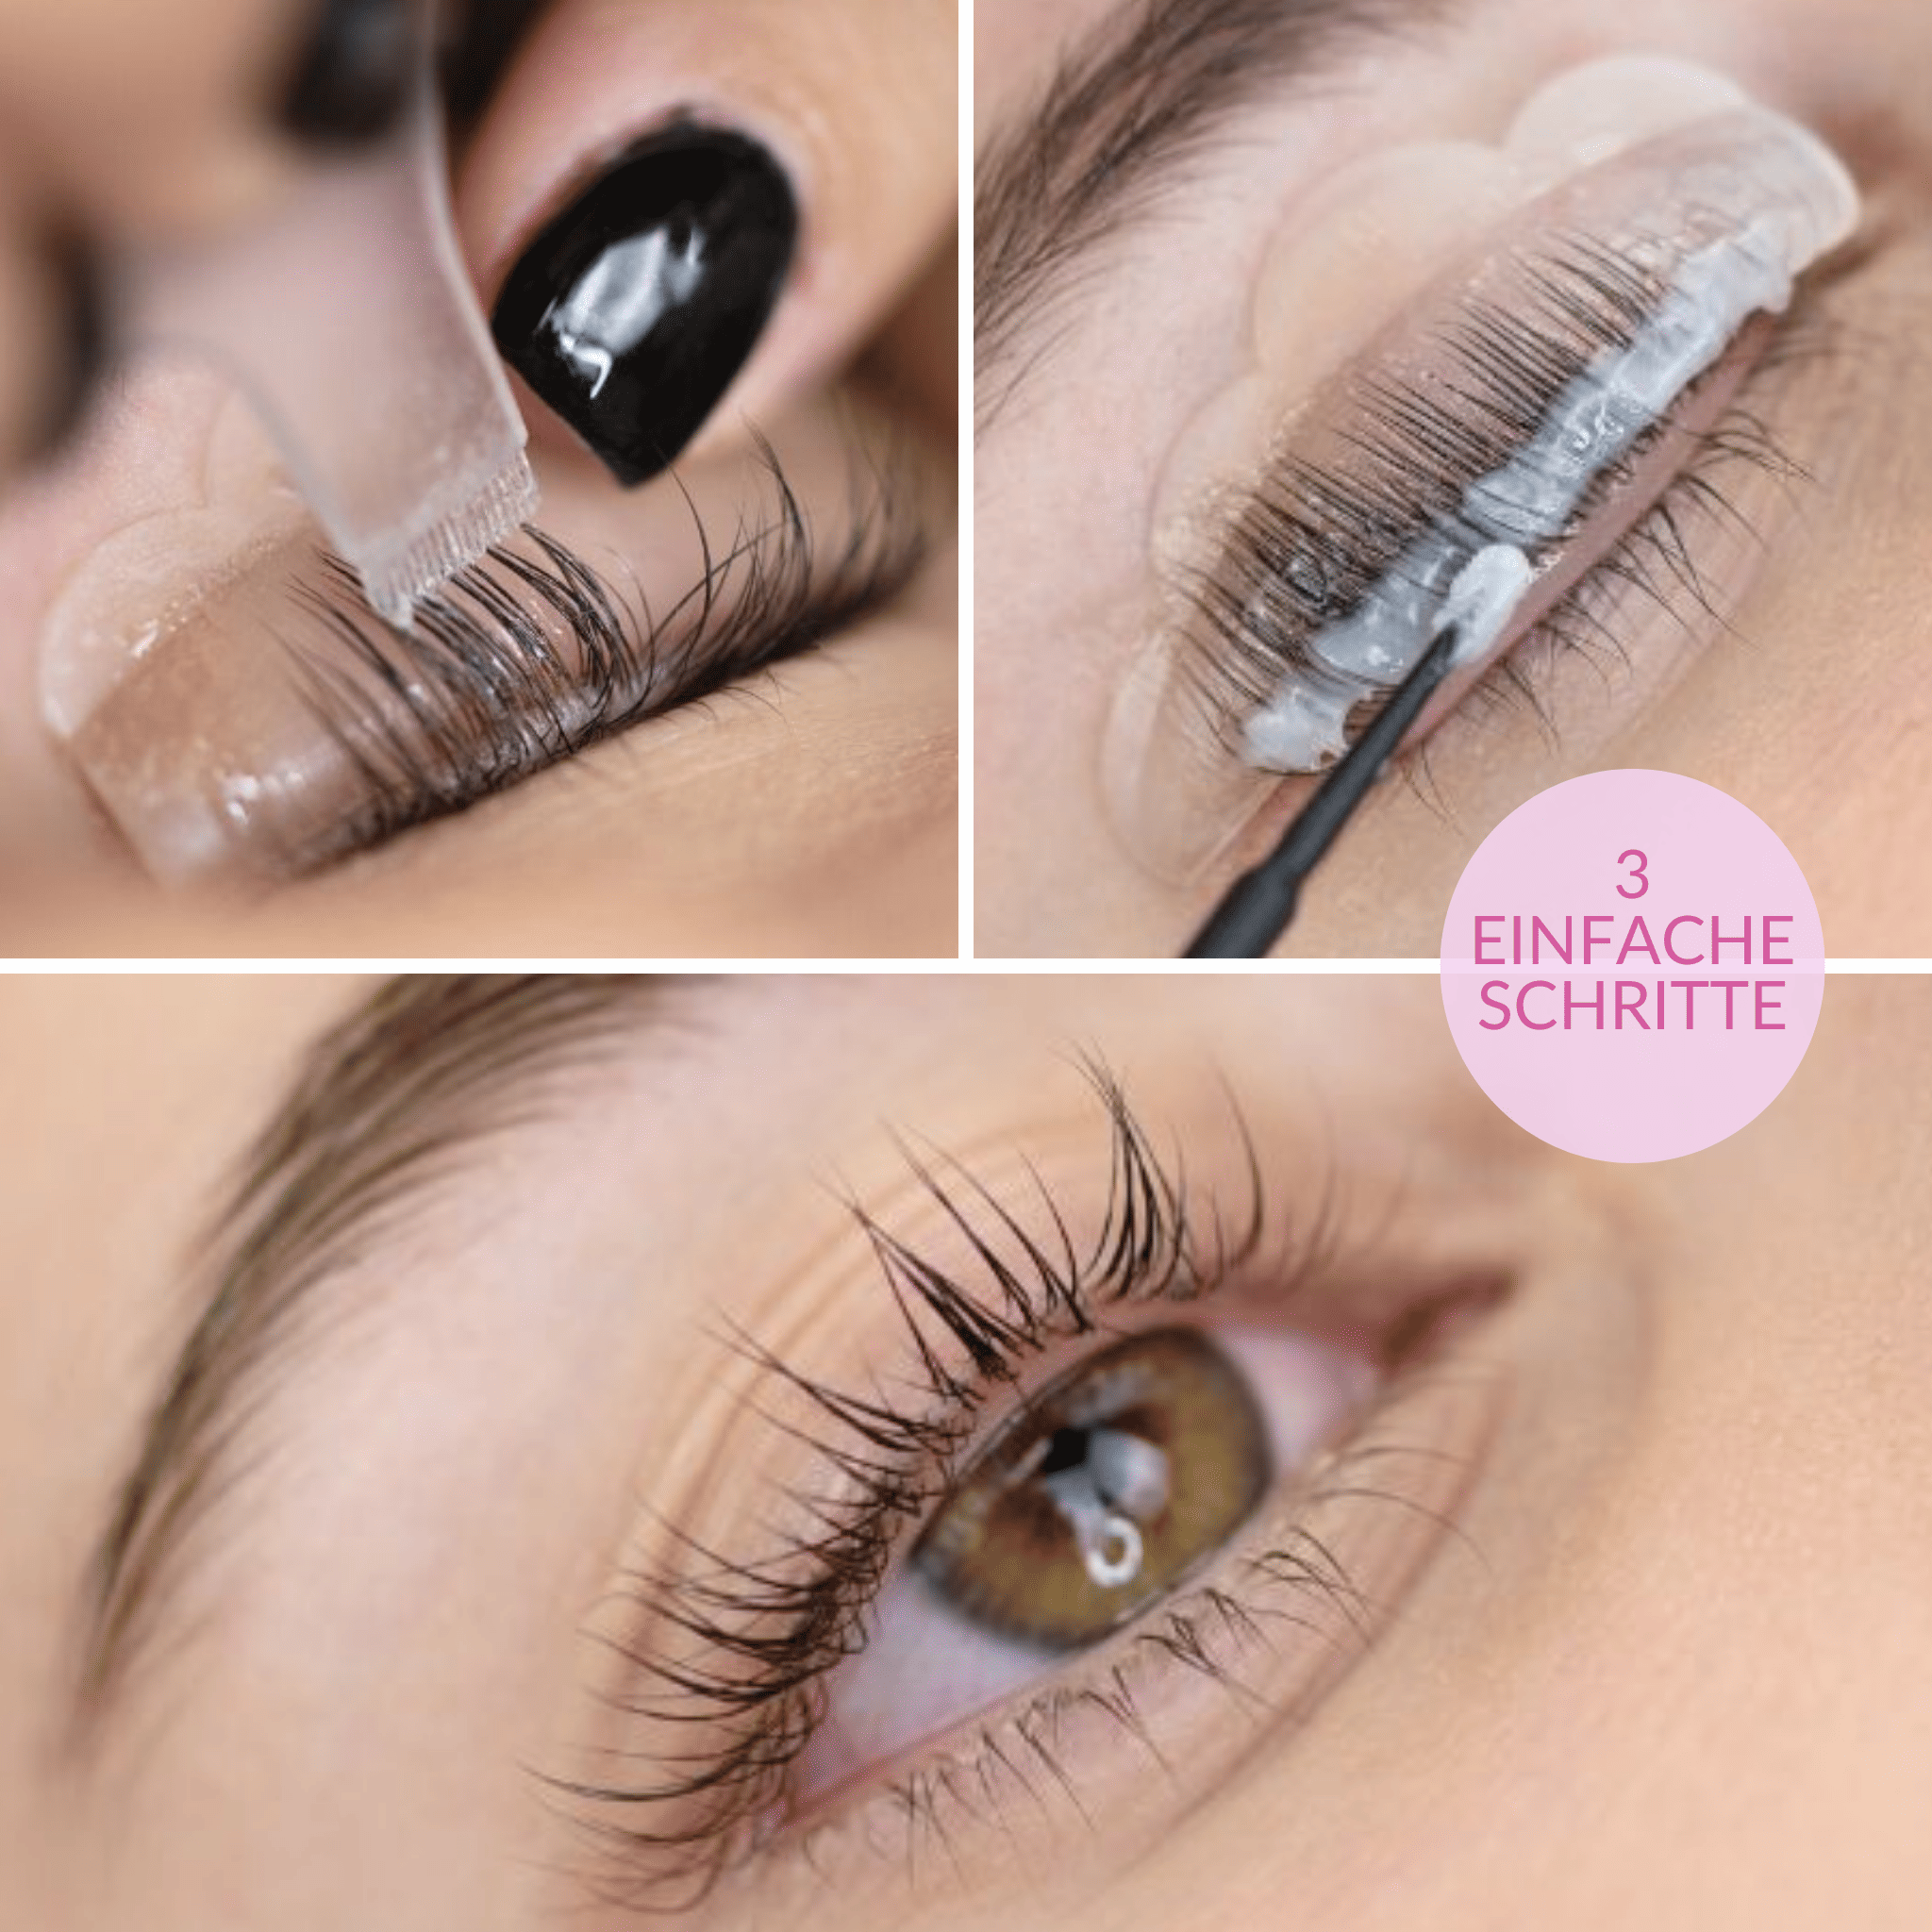
Apply the Lashlift Lotion 1 from the roots to the middle (IMPORTANT: leave the tips out).
Leave on for 10 min. (+2 min. for thick lashes or serum). Then remove with a dry cotton swab.
Step 5: Lift it up! With Step 2 Lashlift Lotion
Apply Lashlift Lotion 2 in the same way. Lotions must not come into contact with each other. Leave on for 10 min. (+2 min. for thick lashes or serum). Remove thoroughly with a new applicator.

Step 6: Finish
Gently lift the lashes off the pad and remove it from your lid. Use a damp pad to remove any leftover glue, then brush your lashes. Tip: Avoid water, steam, makeup, or mascara for 24 hours.
Step 1: Cleanse
Cleanse your eyelids and lashes thoroughly with the fleeky Cleanser or an oil-free makeup remover. Make sure to clean your lids too—any residue can affect adhesion. Lashes must be dry and free of oil.
Step 2: Attach silicone pads
Choose the right silicone pad size. Trim slightly at the sides if needed. Apply the fleeky glue evenly onto the silicone pad, let it dry for 30 seconds, and fix the pad to your eyelid.
Step 3: Fix it! Fix eyelashes
Comb your lashes upward one by one with the little comb and press them gently. Use the Y-tool to brush your lashes upward and fix them individually—neatly separated, with no crisscrossing.
Step 4: Power To The Lashes! With Step 1 Lashlift Lotion
Apply the Lashlift Lotion 1 from the roots to the middle (IMPORTANT: leave the tips out).
Leave on for 10 min. (+2 min. for thick lashes or serum). Then remove with a dry cotton swab.
Step 5: Lift it up! With Step 2 Lashlift Lotion
Apply Lashlift Lotion 2 in the same way. Lotions must not come into contact with each other. Leave on for 10 min. (+2 min. for thick lashes or serum). Remove thoroughly with a new applicator.
Step 6: Finish
Gently lift the lashes off the pad and remove it from your lid. Use a damp pad to remove any leftover glue, then brush your lashes. Tip: Avoid water, steam, makeup, or mascara for 24 hours.


Product information
FAQ'S
General
What exactly is a lash lift?
A lash lift – also known as a lash lifting – is a natural alternative to artificial lashes.
Your own lashes are gently lifted upwards, making them look fuller, thicker, and more defined – all without extensions or a lash curler.
Lash lifting gives you an open, expressive look and makes your eyes appear bigger.
Your lashes keep their natural texture, but gain lasting volume, length, and curl.
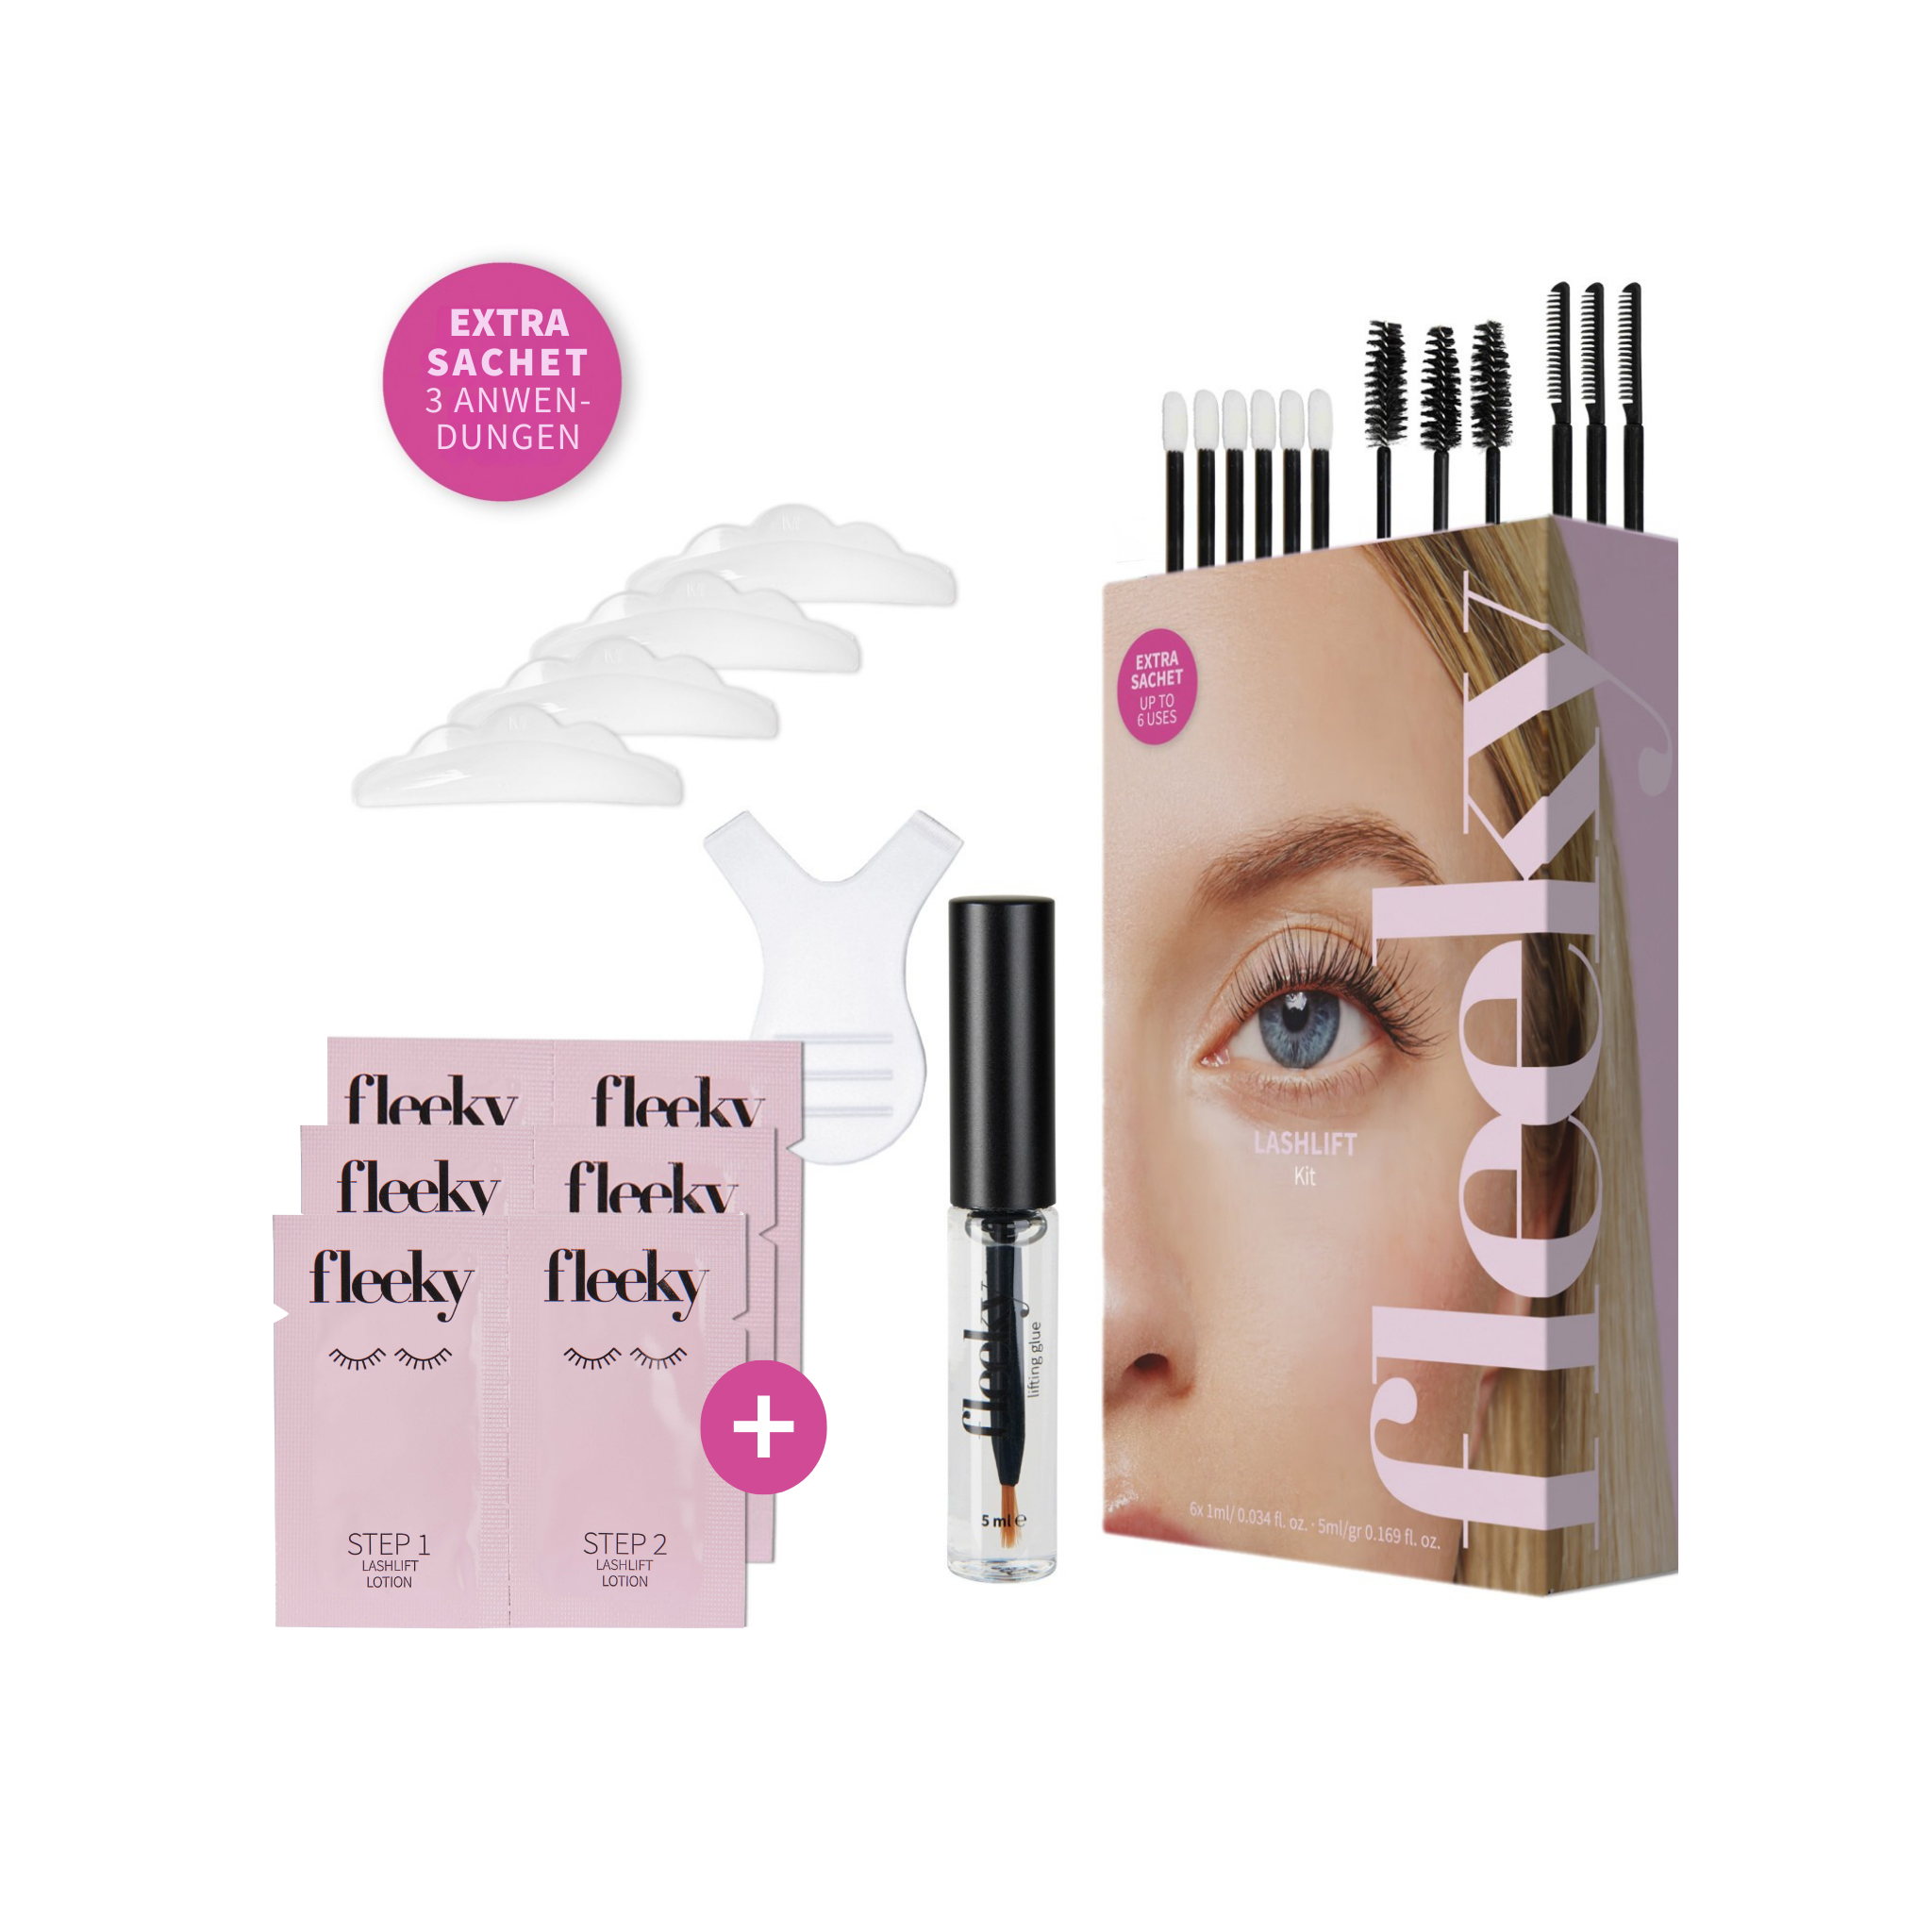
With the fleeky Lashlifting Set, you can easily do your lash lift at home – gentle, effective, and with professional results that last up to 4-6 weeks.
What is done during a lash lift?
With a lash lift – or eyelash lifting – your natural lashes are treated in two gentle steps to give them volume, length, and curl.
In the first step (Lotion 1), the keratin structure of your lashes is gently opened.
This makes the hair flexible and visually longer.
In the second step (Lotion 2), your lashes are set with a volumizing solution – so the desired curl lasts for weeks.
The result: longer, fuller, and perfectly curled lashes, all without extensions or a lash curler.
Who is a lash lift suitable for?
A lash lift is suitable for every hair and eyelash type. Both short and very long eyelashes can be shaped into the desired shape with the right silicone pad. Don't worry - you don't have to be a cosmetics professional to carry out the application - as we all know, practice makes perfect!
- Long eyelashes -The lifting is perfect for your eyelashes!
- Straight eyelashes -The lifting is the perfect solution to give your eyelashes the optimal curl and make them look longer.
- Short eyelashes -No problem! The lifting is also ideal for short eyelashes!
Product information
What exactly is a lash lift?
The Lashlift is a natural alternative to artificial eyelashes and ensures thick eyelashes with optimal curl. A lash lift is a new method of giving your eyelashes the desired shape over a longer period of time without using an eyelash curler.
The lifting makes the eyes appear larger and the eyelashes look naturally beautiful even without mascara. With an eyelash lift you give your eyelashes more volume, density and curl in a well-tolerated way.
What is done during a lash lift?
In the first phase (Lotion 1), the keratin structure of the hair is broken down, making the lash hair more flexible and visually longer. In the second phase (Lotion 2), the lashes are treated with volumizing products and set in the desired shape. This makes the lashes look longer and fuller, and gives them the lift you want.
Who is a lash lift suitable for?
A lash lift is suitable for every hair and eyelash type. Both short and very long eyelashes can be shaped into the desired shape with the right silicone pad. Don't worry - you don't have to be a cosmetics professional to carry out the application - as we all know, practice makes perfect!
Long eyelashes -The lifting is perfect for your eyelashes!
Straight eyelashes -The lifting is the perfect solution to give your eyelashes the optimal curl and make them look longer.
Short eyelashes -No problem! The lifting is also ideal for short eyelashes!
How long does a lash lift application take?
A lash lift application usually takes up to 40 minutes. That depends on how experienced you are. If you are using the lifting for the first time, you will probably need a few minutes longer so that all steps go smoothly and the desired result is achieved.
Is the application difficult?
Using our lash lift is not difficult, but it does take a little more time if you are untrained. If you follow all the steps in the instructions and avoid possible mistakes, we guarantee that everyone, whether natural or not, can use the eyelash lift without any problems.
How long does a lash lift last?
The results of a lash lift application last 6-8 weeks. This depends on how quickly your eyelashes grow and how error-free the application was. The effect wears off over time, depending on eyelash growth. Very naturally, slowly and healthily, the eyelash hairs return to their original shape and grow back.
How often can you repeat a lash lift?
The lash lift is gentle on your eyelashes and can therefore be repeated at any time. Ideally as soon as the effect has worn off, i.e. 6-8 weeks later. However, you should avoid using it before the 4 weeks have elapsed to give your eyelashes a little rest. If your application didn't work, you can try again immediately afterwards without damaging your eyelashes.
Is an eyelash lift bad for your eyelashes?
An eyelash lift does not harm your own eyelashes or eyelash growth. Our lotions are dermatologically tested, were developed by cosmetic experts and are checked at regular intervals.
Application
How do I optimally clean the eyelashes before the lifting?
You should always clean your eyelashes and eyelids before applying the product. To do this, you can use our cleanser or another cleansing product (e.g. make-up remover) of your choice to completely degrease your eyes. This is the only way the silicone pad will adhere to your eyelid and the eyelashes will then adhere to the silicone pad.
How do I choose the right silicone pad?
The right choice of silicone pad is crucial for the result of your eyelash lift. There is a simple formula that you can use to see which pad you should use. Hold the pad against your lash line and pull the lashes upwards with a lash comb. The lashes should cover 1/3 of the pad. As a general rule of thumb:
- S: strong lifting: short eyelashes
- M: medium lift: normal eyelashes
- L: light lifting: long eyelashes
How do I fix the eyelashes on the silicone pad for an optimal result?
To achieve the best possible results from the Lashlift application, it is important that the lashes are attached to the silicone pad with the adhesive so that they are completely smooth and taut. If you have the feeling that your lashes are very loose or even have gaps or are criss-crossed on the pad, it is best to try again. Remove the glue with a cotton pad and water and try again. You should separate the lashes on the pad until the glue has dried. The lashes should not be crossed, as the structure you create on the silicone pad will be the result of your lash lift. If individual lashes come loose, you can simply pull them back up again smoothly, even before applying the second lotion, they should be properly fixed again.
Where exactly do I have to place the lotions so that the desired lifting effect is possible?
The lashlift lotion must be placed at the lower end of the lashes and may cover 1/3 of the lashes. It is extremely important to leave out the tips! Lifting only works if the lotion is placed correctly, as this is where the area for curling the lashes is defined.
How much lotion should I apply so that eyelash lifting works?
The secret to using the right amount of lotion is not to use too much and not too little. You should definitely apply more than a very thin layer and the lotion should be clearly visible on the pad by its colour and consistency. Don't skimp on the lotion but be sure to avoid the tips! You don't have to use the whole sachet, but enough to cover 1/3 of the pad.
How long is the optimal exposure time of the lotions?
The application time depends on the structure of your lashes. If you have rather thin and light lashes, we recommend an application time of 10 minutes. If your lashes are thick, we recommend 12 minutes. Do not leave the lotion on for longer.
How do I remove the lotions without the eyelashes detached?
Take a cotton bud or a cotton pad and remove the lotion by rolling the cotton bud or making light strokes with the cotton pad. Always work in the direction of the eyebrow and do not sweep the lotion downwards. Also make sure that the lotion is completely removed. If a few lashes have come loose under the light pressure, fix them again with the adhesive on the silicone pad.
Why do I have to use two different commands for the two different lotions?
Our two lash lifting lotions have different modes of action, so it is important to use a separate application stick for each lotion, otherwise the lotions may lose their effectiveness.
Common application mistakes & how to avoid them
My silicone pad does not stop at the eyelid, what can I do?
There may be several reasons why your silicone pad is not sticking to your eyelid, here are a few tips on what you should bear in mind:
- Clean the silicone pad and your eyelid thoroughly
- The pad is too wide for your eye and needs to be trimmed. Cut the outer and, if necessary, the inner edge of the pad so that it is perfectly flush with the eye. There should be as few pressure points as possible so that the pad has no resistance and comes off.
- Allow the glue to dry for 30-60 seconds before attaching the pad to your eyelid. Also, try not to use too much glue so that it has a chance to dry.
- Press the silicone pad lightly onto your eyelid for 60-90 seconds until you feel that the glue has really dried.
- Try to avoid constantly blinking
How do I avoid that individual eyelashes are placed under instead of above the silicone pad?
Before applying the silicone pad, make sure that all lashes are placed over the pad and that no lashes accidentally get under the silicone pad so that all lashes are curled. The best way to do this is to comb the lashes downwards with the lash brush and then place your silicone pad on your eyelid.
The eyelashes do not stick on the silicone pad, what can I do?
Use enough but not too much glue to fix the lashes. Here we advise you to work from the inside out. Always apply a little glue to the area of the pad where you want to attach the lashes. Allow the area to dry for 20-30 seconds and use the Y-tool to pull the lashes smoothly up onto the pad. Again, make sure that you separate the lashes and place them on the pad at a 90 degree angle rather than at an angle. If a few lashes come off again, repeat the process and you can also add a little more glue.
I have the feeling of the glue is not really sticking, what can I do?
The most common mistake and cause of unsatisfied applications is the lash lifting adhesive. However, the error here is not actually due to the quality of the glue, but to incorrect application. Fortunately, we have a few tips for you so that you don't despair:
Error source 1: The silicone pad
- Make sure the silicone pad is the right size. If it doesn't stick, it's usually not because of the adhesive, but because there is too much resistance on the eyelid. So choose the right size and cut the pad to size if necessary.
- Allow the glue to dry for 30-60 seconds before attaching the pad to your eyelid. Also, try not to use too much glue so that it has a chance to dry.
- Press the silicone pad lightly onto your eyelid for 60-90 seconds until you feel that the glue has really dried.
Error source 2: Fixing the eyelashes
To fix the eyelashes, you need a little patience, especially if you have very short eyelashes and notice that the resistance of the eyelashes is stronger.
- Use enough but not too much glue to fix the lashes
- Work your way from the inside out. Always apply a little glue to the area of the pad where you want to attach the lashes. Allow the area to dry for 20-30 seconds and use the Y-tool to pull the lashes smoothly up onto the pad.
- Apply glue afterwards to fix the remaining lashes.4. Keep a steady hand and use the other hand to stabilize the pad on your eye if necessary.
How do I avoid that individual eyelashes detach themselves from the silicone pad during use?
Make sure that the lashes are firmly attached to the silicone pad with the adhesive. If one or two lashes come off, don't panic! After the application time, you can remove the lotion as usual and reattach the lashes with a little glue.
Why didn't my eyelash lifting work?
There may be various reasons why your lash lift application did not work. Take another look at all the steps of the application and use our tips to find out what could have caused it.
- Have you chosen the right silicone pad?
- Did you observe the application time or did you remove the lotions too early?
- Did you use two different application sticks?
- Have you applied the lotion correctly? (only on the lash line and not on the tips)
Take your time with your application and try to relax during the application time and keep your eyes closed.