



How-To · your learning path
Step by step to your result.
Choose your kit. We’ll be with you from unboxing through aftercare.
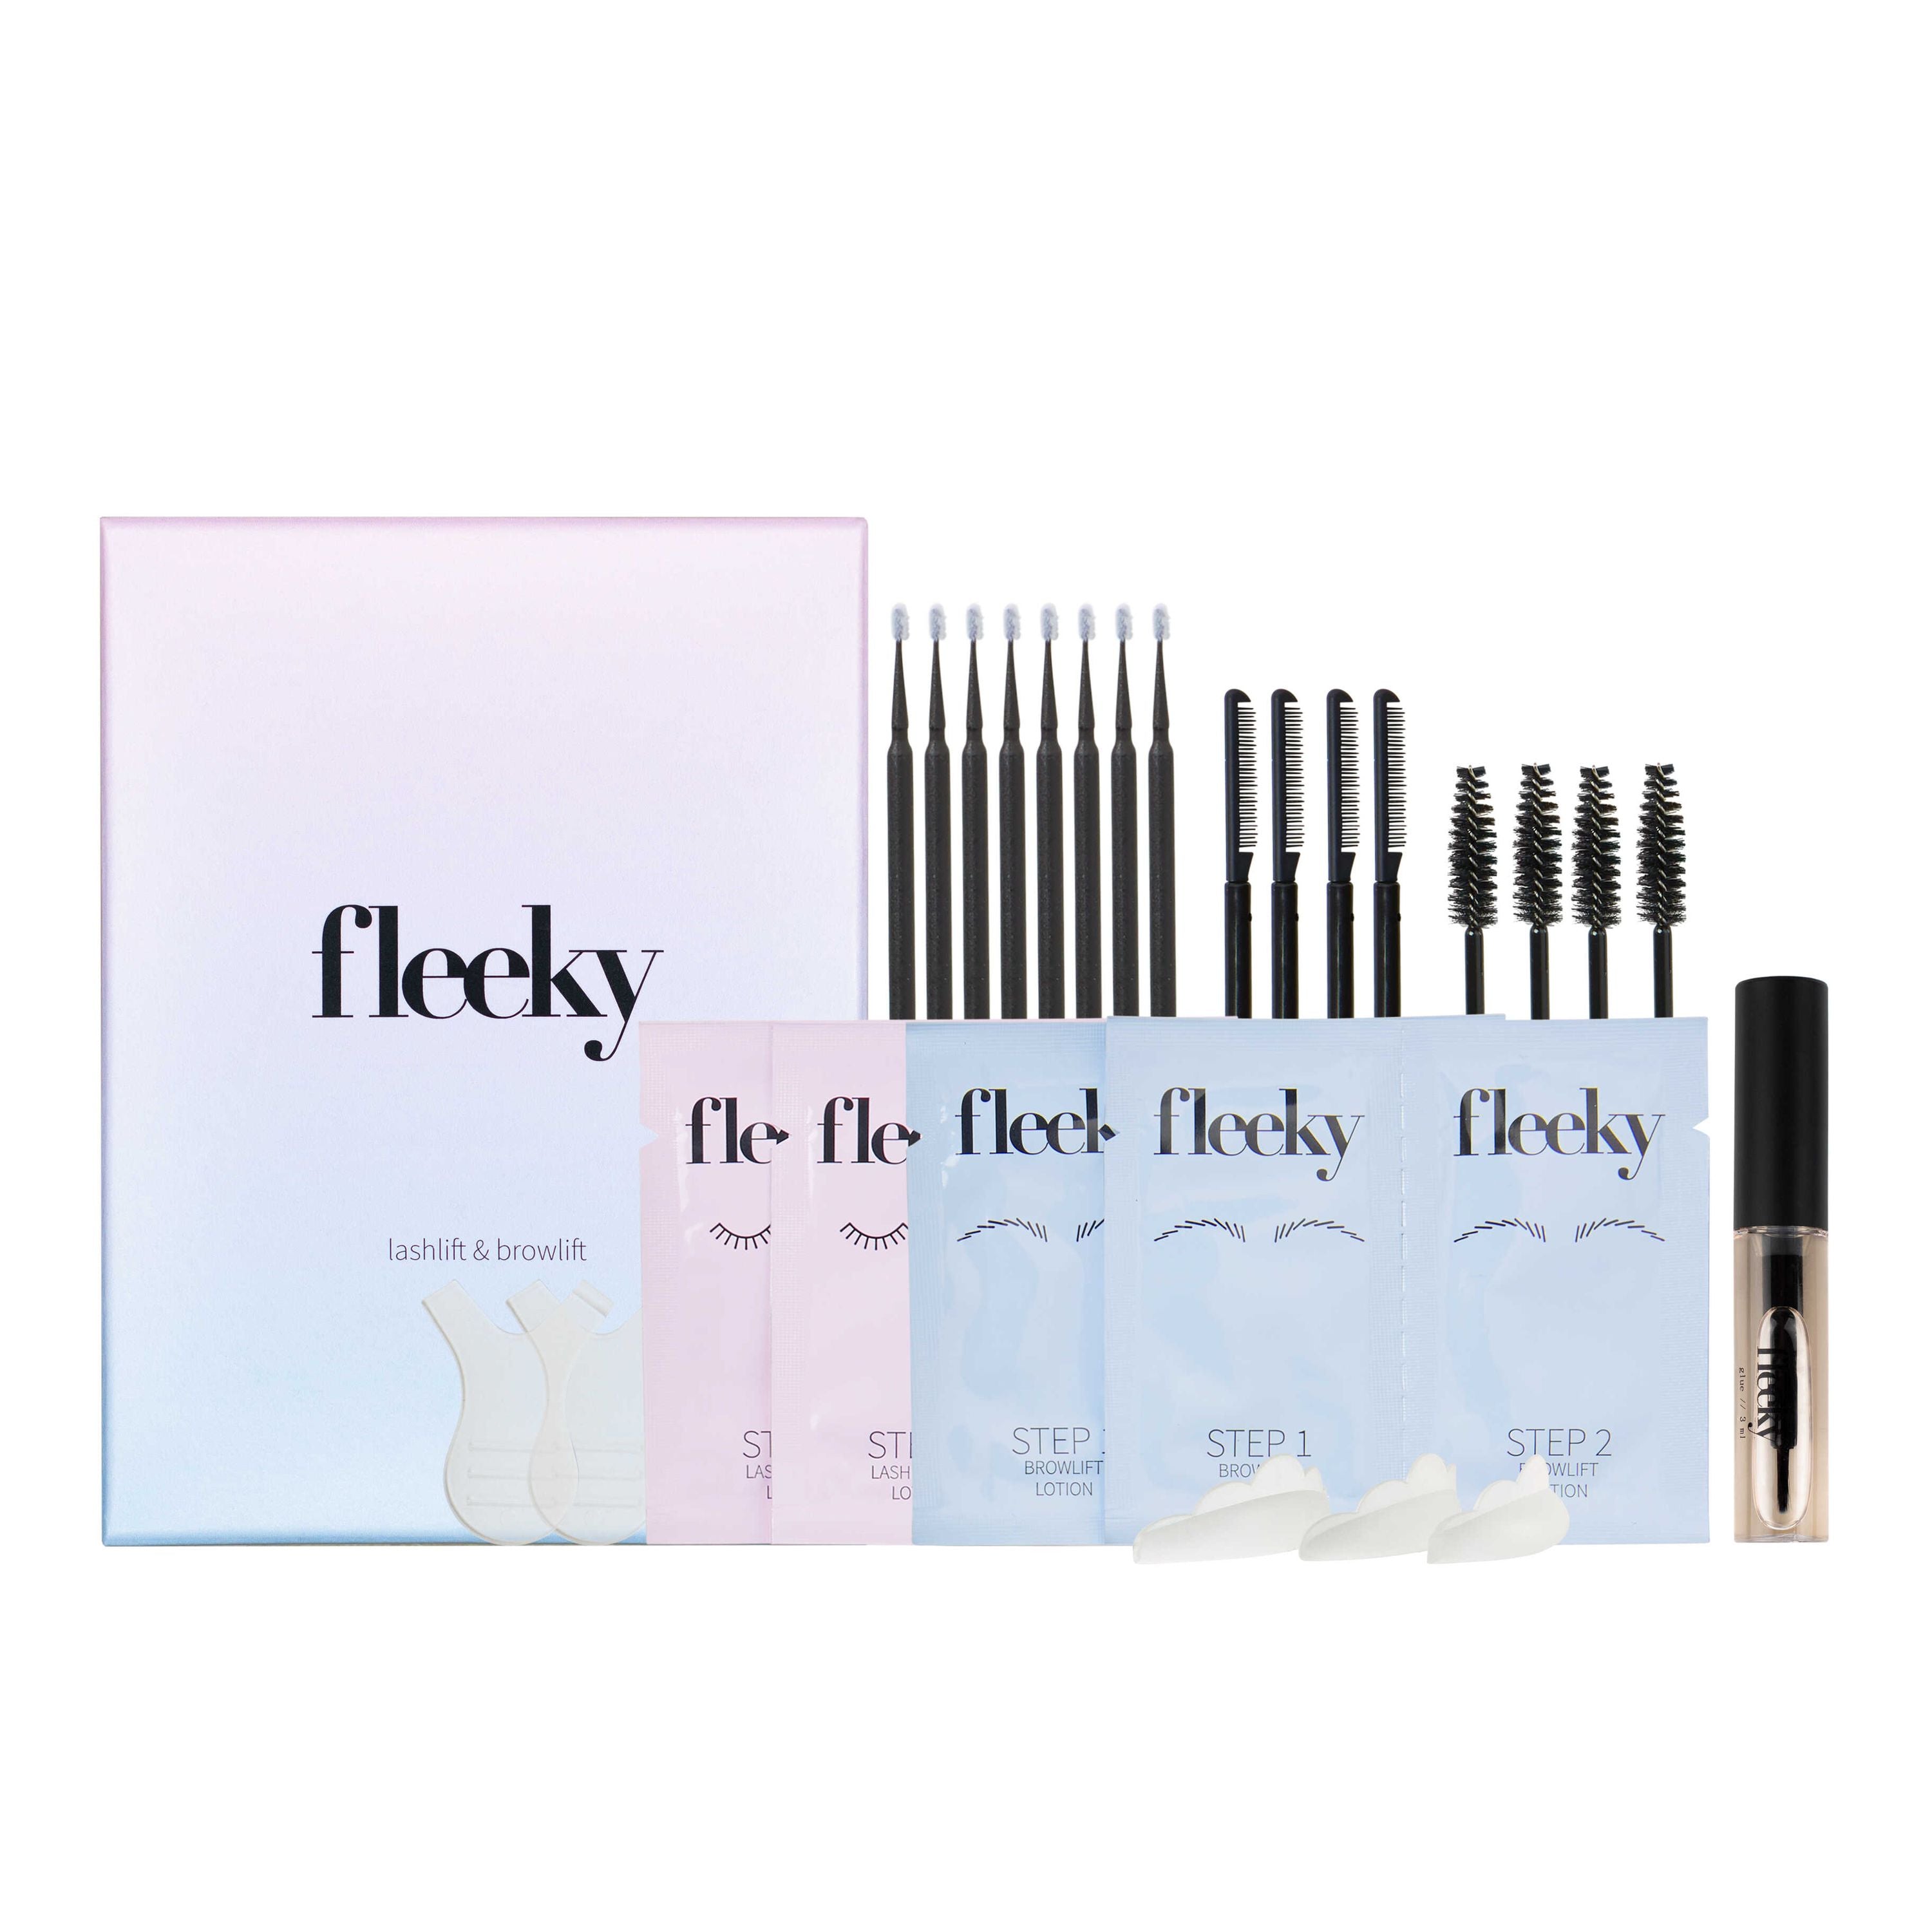
Which kit do you have? Here’s how to tell: The Browlift Kit contains Lifting Lotion, Fixing Lotion, and After Care Booster in individual sachets, plus a Styling Glue, but no adhesive. The Browlift Original contains dual-chamber sachets and an adhesive.
Which kit do you have? The Roller for large body areas, the Microwave for sensitive skin and the face, and the Heater for hair as short as 3 mm.


What does Brow Tint do?

Eyebrow tint for light or fine hairs. Ready in about 10 minutes.
How to find your perfect shade

When in doubt, choose the lighter shade. The processing time controls how intense it becomes: 4 minutes for a more natural result, 5 minutes for a more intense result.
- Blonde: Light Brown
- Light brown: Light Brown, for more definition Brown
- Dark brown: Brown
Show allShow less
- Black: Brown, for a bold look Black
- Grey or salt-and-pepper: Light Brown, for more colour Brown
Before you get started

- Patch test: apply a small amount of color to the crook of your arm 24 hours beforehand
- Pluck your eyebrows the day before, not immediately before coloring
- Clean your eyebrows with an oil- and grease-free cleanser
Mix · Apply · Remove
Mix a pea-sized amount of color with the same amount of developer, apply, and remove after 4–5 minutes.
Touch up

- One kit is enough for around 35 applications
- After a brow lift: leave the color on for only around 3 minutes

What does Brow Henna do?

Tints brow hairs and skin for a drawn-on brow look. Vegan.
How to find your perfect shade

Natural: the shade of your hair color. Intense: one shade darker. You can also control how intense it becomes by leaving it on for 10 to 20 minutes.
- Blonde: Blonde, for more definition Light Brown
- Light brown: Light Brown, for more definition Medium Brown
- Dark brown: Medium Brown, for a bold look Dark Brown
Show allShow less
- Black: Dark Brown, for a bold look Black
- Gray or salt-and-pepper: Light Brown, for more color Medium Brown
Before you get started

- Patch test: Apply a small amount of the mixed color to the crook of your arm 24 hours beforehand
- Clean your eyebrows with an oil- and grease-free cleanser
- Mix 1 level scoop and approx. ½ pipette of warm water into a thick, creamy paste
Mix · Map · Process
Every step in the video.
This is how long your results last
- Up to 6 weeks on the hairs
- Up to 2 weeks on the skin

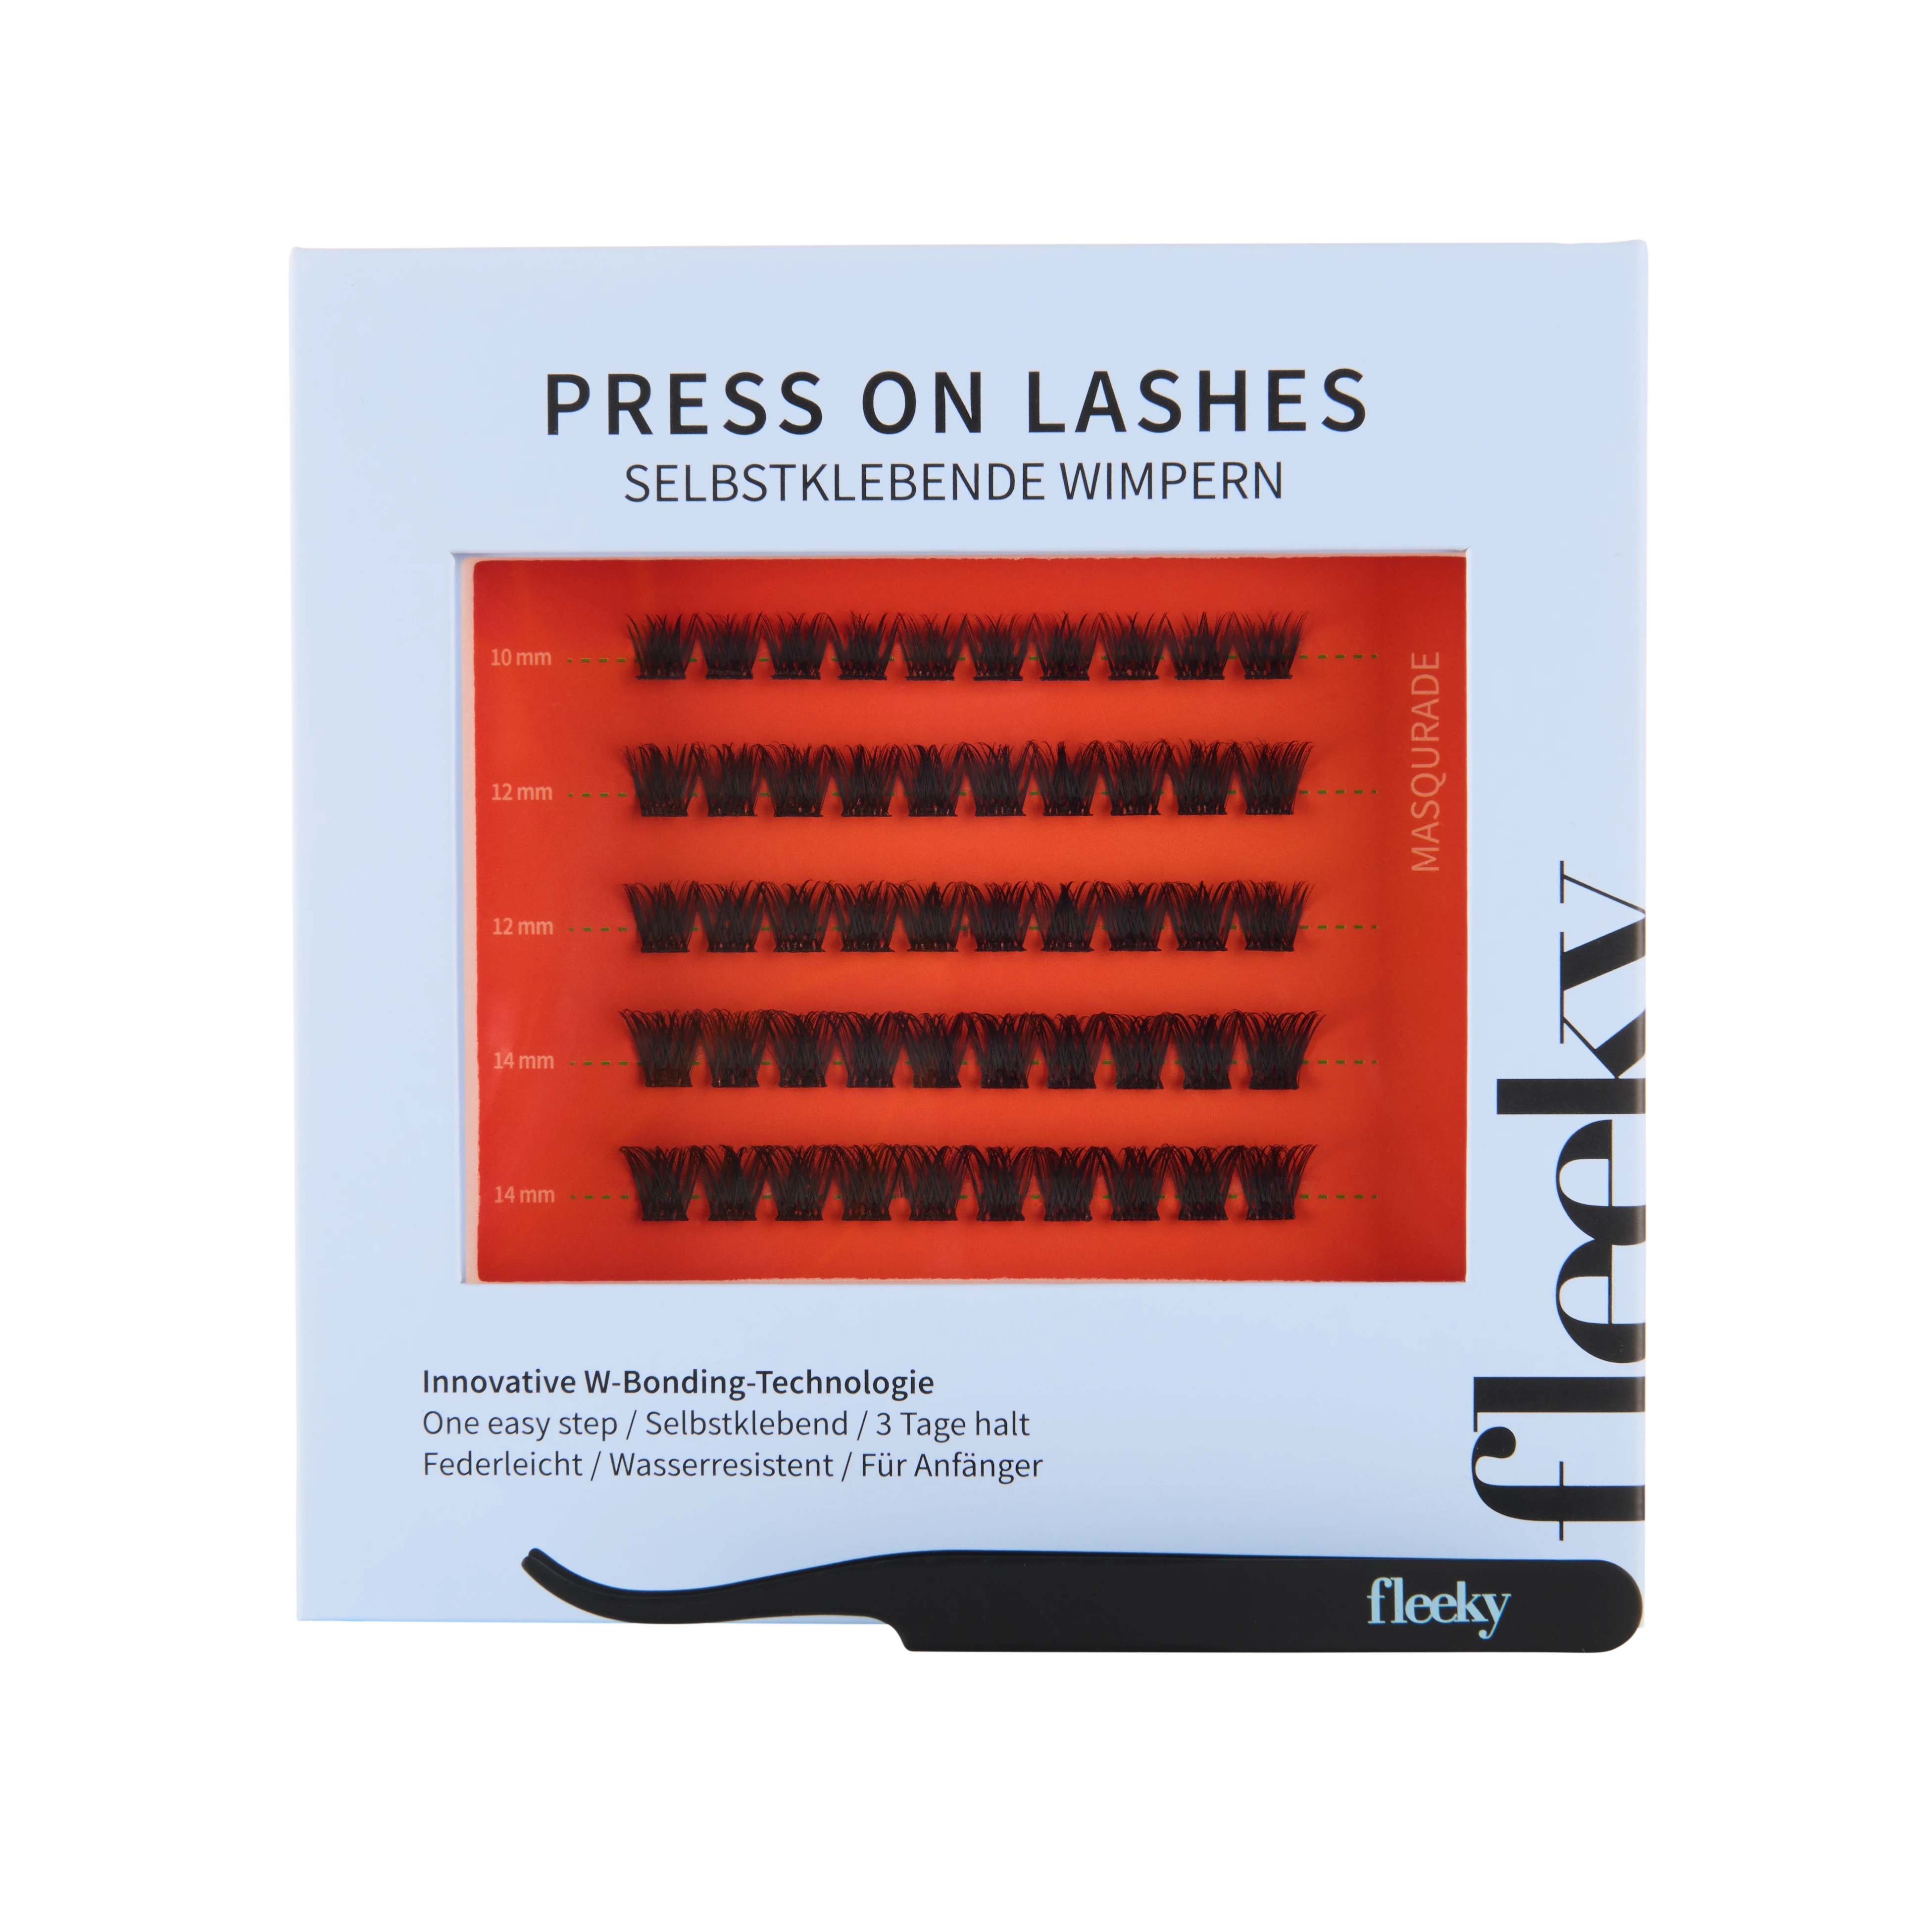
What are press-on lashes?

Pre-made lash clusters that adhere on their own. No extra glue, no treatment.
Which style suits you?

Choose your favorite style from the collection.
View all styles →Select · Apply · Press down
Every step in the video.
Wear multiple times
- Lasts up to 3 days

What is the Microwave Wax Kit?

The wax is warm after 1–2 minutes in the microwave. For sensitive skin and the face, it also removes very short hairs.
- Set includes: 1x 100 g wax container, 20x medium wooden spatulas, 20x mini wooden spatulas
Before you get started

- Perform a patch test 48 hours beforehand
- Heat only in the microwave, not in the oven or on the stovetop
- Do not use on sunburned or irritated skin
Show allShow less
- Avoid contact with the eyes
- Once opened, the wax will keep for 12 months
How much wax do you need?

So you know how far your wax will go.
- Face: 5–10 g
- Underarms: 10–15 g
- Stomach strip: 3–5 g
Show allShow less
- Arms up to the elbows: 15–25 g
- Full arms: 25–40 g
- Bikini area: 15–25 g
- Brazilian: 20–35 g
- Lower legs: 30–40 g
- Full legs: 80–120 g
In 6 steps

- Open it! Remove the lid and peel off the protective film completely.
- Heat it! Place the jar in the center of the turntable and heat it at around 800 watts in 30-second increments. A full jar takes about 1:30 minutes, while smaller amounts take about 1 minute.
- Stir it! Remove the jar only by the side handles. Stir with the spatula until the wax is creamy and as fluid as honey. Test the temperature on the inside of your wrist.
Show allShow less
- Apply it! Clean the skin beforehand. Apply the wax thinly (approx. 1.5 mm) in the direction of hair growth using the wooden spatula. Use the mini spatula for the face and small areas.
- Remove it! Let the wax dry briefly (approx. 30–60 seconds). Hold the skin taut, grip the wax with your hand, and pull it off quickly against the direction of hair growth. You don't need fabric strips.
- Care for it! Afterwards, take good care of your skin.
This is how long your results last

- Up to 4 weeks of smooth skin because the hair is removed from the root
- No razor bumps or razor burn
- With regular use, hair grows back less, softer, and finer


